Our new loft is still on the small side as far as the average American home goes. We also don't want to fill it up so we still have room for whenever a baby does come along. We have a somewhat large book collection even after downsizing as much as we could stand to part with. The question of where to put all these books is something we pondered and discussed since before we moved in. We thought we would need to buy another piece of furniture, further filling up our living space. Then a visit by a new neighbor gave us a different idea: wall shelves in the entry.
I had thought I wanted to keep this wall space open and clean feeling, but the more we talked about it, the more it seemed like the way to go. We had saved some simple wall shelves I had in our old place, and we could use them for now till we could afford something more custom in the future. All we had to buy was a few more wall brackets and a stud finder.
I started by finding studs, measuring up from the entry ledge and marking where I wanted the top of the bracket. Then I held the bracket in place and marked the holes in the brackets. I failed to remember that the shelf is a bit sorter than the wall. So, instead of it being flush to the brick on the left side, it is centered. Future Advise: Measure Twice, Drill Once.
Since I was drilling into studs, I did not need to use screw anchors. If you are hanging shelves, studs are best, but if you can't use them, make sure you have good anchors that will support enough weight.

Drill Tips:
Drilling holes for screws: Find the bit that is the size of the solid center of the screw by holding it in front. You should see the thread, but not the center. When in doubt, go for the smaller bit first. You can always make the hole bigger, but never smaller.
Drilling holes for screw anchors: Find the bit the same size as the anchor. Drill the hole, then tap in the anchor. If the anchor is very difficult to get in, make the hole slightly bigger, you don't want to damage the anchor trying to get it in. Just like above, it's better to start with a smaller hole and have to make it bigger. *Note: If you use the new anchors that look like giant plastic screws (and hold great), follow similar advise for drilling for screws. Most anchor packages come with instructions as well.

Once I had all the brackets hung, I placed the shelves on top and marked the holes for where the bracket attaches to the shelf and drilled some more. When the shelves were all secure, I started unpacking everything that was going on them and laid it all out.
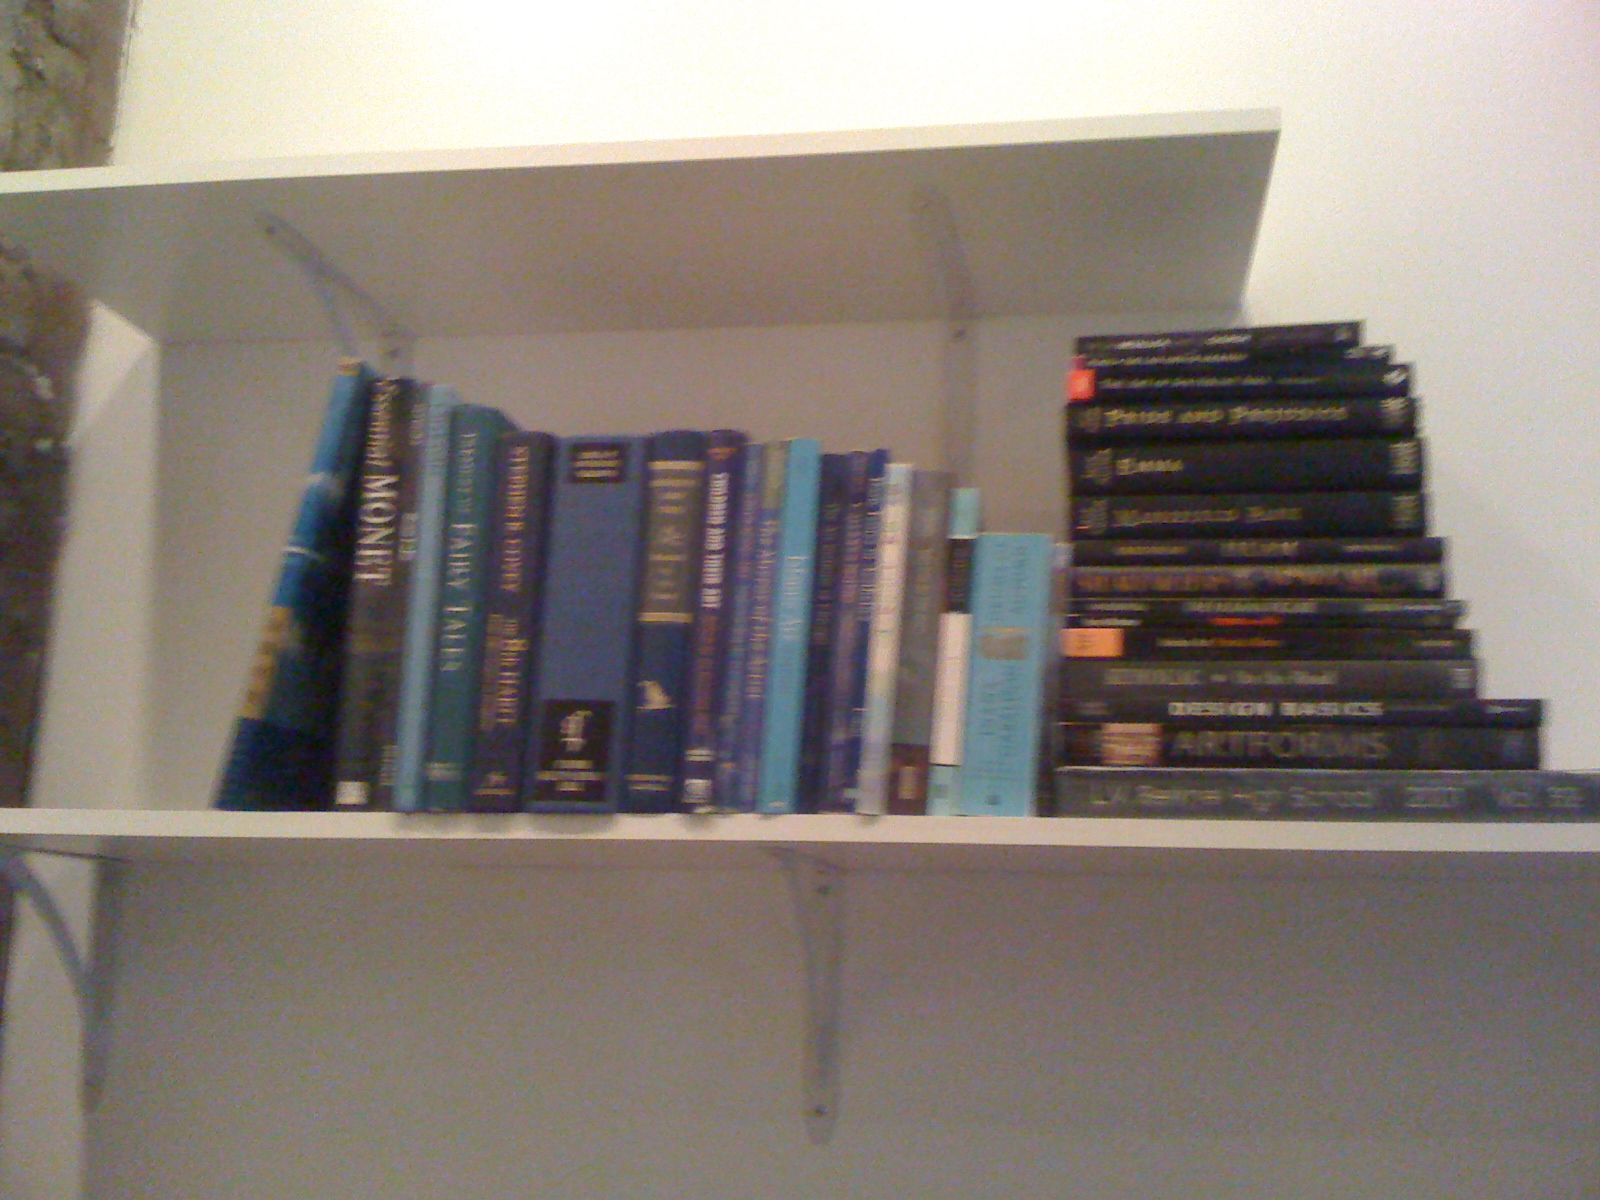
In the past, I've always arranged my books like a library, grouping by categories. I've seen many design shows and read many articles in which they group books by color. It creates a more streamlined look, instead of the controlled chaos look that I had in the past. I wanted this library to not look so visually cluttered.I started removing dust jackets on almost all the books that had them. Usually underneath is a more solid color, or at least, it's not so shinny. I first pulled all of the black books out and stacked them in order of height. Next, I did the blue book. Blue has by far the largest number of books.
.
The key to an interesting shelf design is to have some books stacked horizontally, and some lined up vertically. I decided that with so many blue books, they needed to be lined up like in a library. The black books would stay horizontal and act like a bookend.
I finished the rest of my color groupings so I could really see the sizes and amounts I had of each.
There were just so many blue, I decided to break them up by darker and brighter. That way I could space the color around for balance as well.
Deep red/ Dark brown books formed the other "bookend" for the now darker blue line-up.
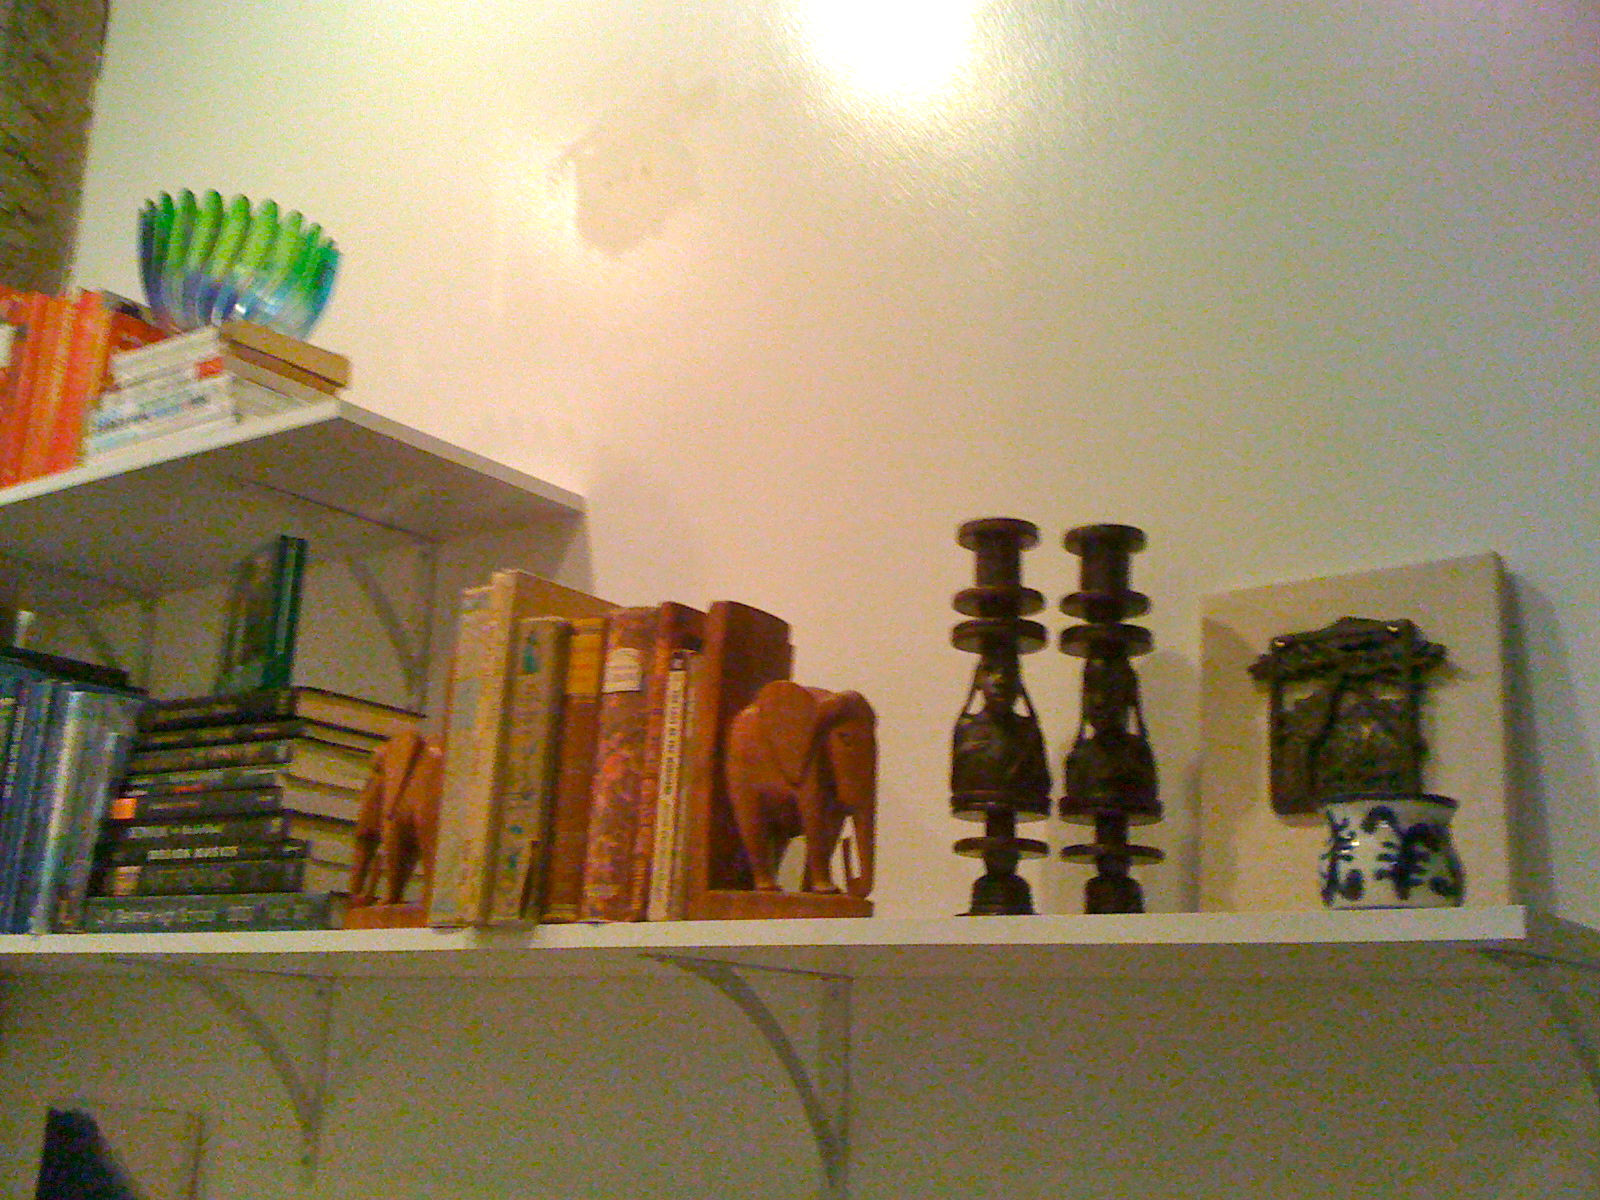
Here we have the final book arrangement. Like the blue, I broke up the tall stack of black books. They are now on the bottom ledge holding up the light blue books. I pulled out my elephant bookends from Tanzania for my light brown books.
Now for the small decor items. Like the books, I pulled them all out to see what I had. These types of things are very difficult to place amongst books. It is best to have odd numbers grouped together of different heights. Also, keep in mind the type of object you are using. I didn't want to place a small round vase on top of both "bookend" stacks of books on either side of the same line-up.
My advise, take your time, play, and know when to take a step back or even a break. Trust your instincts. I ended up using more than just what you see in this picture.
Here (above and left) is the first arrangement I came up with. It has a good use of high and low, and a good mixture of shapes and textures. But, something felt lacking, especially with the blue and green glass bowl from my grandma at the bottom.
Here is my final arrangement. I moved the glass bowl to the top to make the most of the light hitting it and moved the tall figure over to keep the height on top that I needed.
Instead of spreading out my elephants (one I made in bronze, so it has to have a good spot), I decided to group the figures together for the most visual impact. They are arranged in descending size and angled the same way. My husband's Egyptian box sits on top of the black books.
A few more views of the finished product.
I'm so excited by the results! I even sent pics to some friends and family to show it off. So my conclusion is that if you want that very designed, pulled together look from your bookshelves, then arrange them by color. It's easy and gives you lots of visual impact.
Sorry for the grainy pictures, I'm still working with an old iPhone.
Update: It's been over 6 months since I installed these shelves and they are still going strong. It pays to really take the time to put them up the right way.
-Home Sweet Loft